Step 1: Importing your List
The first step to starting an auto dialer campaign is to get your contacts into Voicent Live. To get started, click on "contacts" found on the sidebar. Then in the top right of your screen, click on "tools" -> "import"
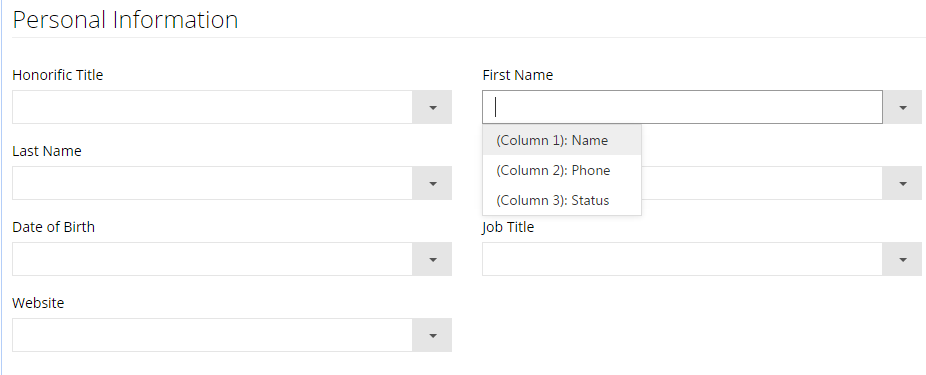
Select your file (in .csv format) to import and check the box for "first column is column header" if that applies to your file. Click continue once you're finished. At the next screen, pick which fields should correspond to which columns.
Once you are satisfied with your import fields, you can click continue to finish importing. Once your import is done, you are ready for the next step.
Step 2: Creating a Message
Click on "campaigns" and then click on "tools" -> "upload audio file" to use an audio file for your auto dialer campaign.
Next, select your audio file by clicking "add files" (make sure your file is in this format: PCM 8KHz, 16 Bit, mono) and then start the upload. Once the upload is finished, you are ready to run your campaign.
Step 3: Starting an Auto Dialer Campaign
After you've uploaded your audio file, click on "Campaigns" on the sidebar and then select the "Auto Dialer" button at the top of your screen. Give your campaign a name and select a contact list, such as "all contacts" if we want to call everyone, and then continue.
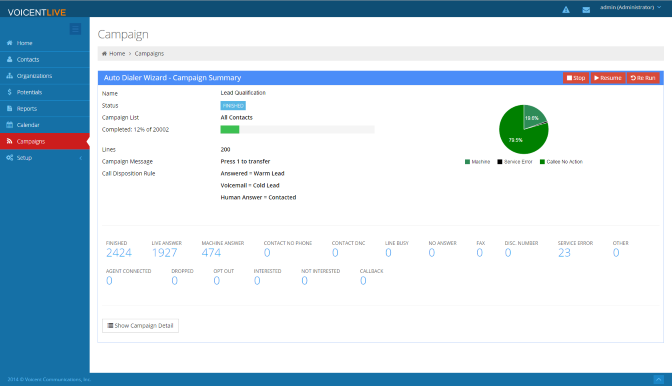
Select your message type, which in this case is "one audio file" and continue. Specify your audio message, then how many lines to use and click "Create Campaign." That's it! Your campaign is now running. Voicent Live will show you the live results of your campaign as it runs.


